
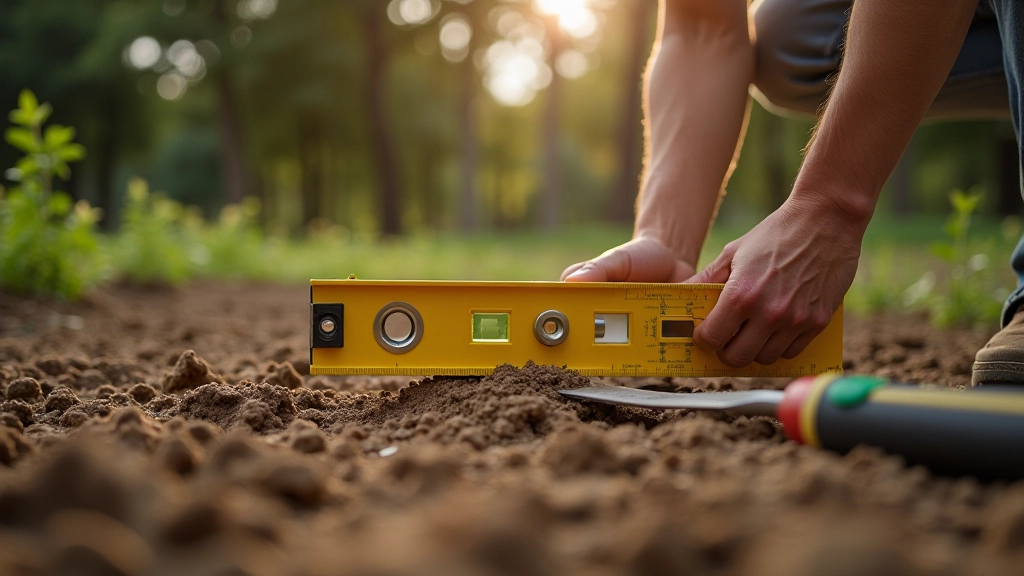
Foundation Work Before Assembly Starts
Getting the ground level and properly prepared prevents headaches later. This guide covers soil assessment, leveling techniques, and foundation options for prefab sheds.
Read GuideTransform your shed into an efficient storage space. Practical layouts for tool storage, seasonal item rotation, and maximizing vertical space without overloading walls.
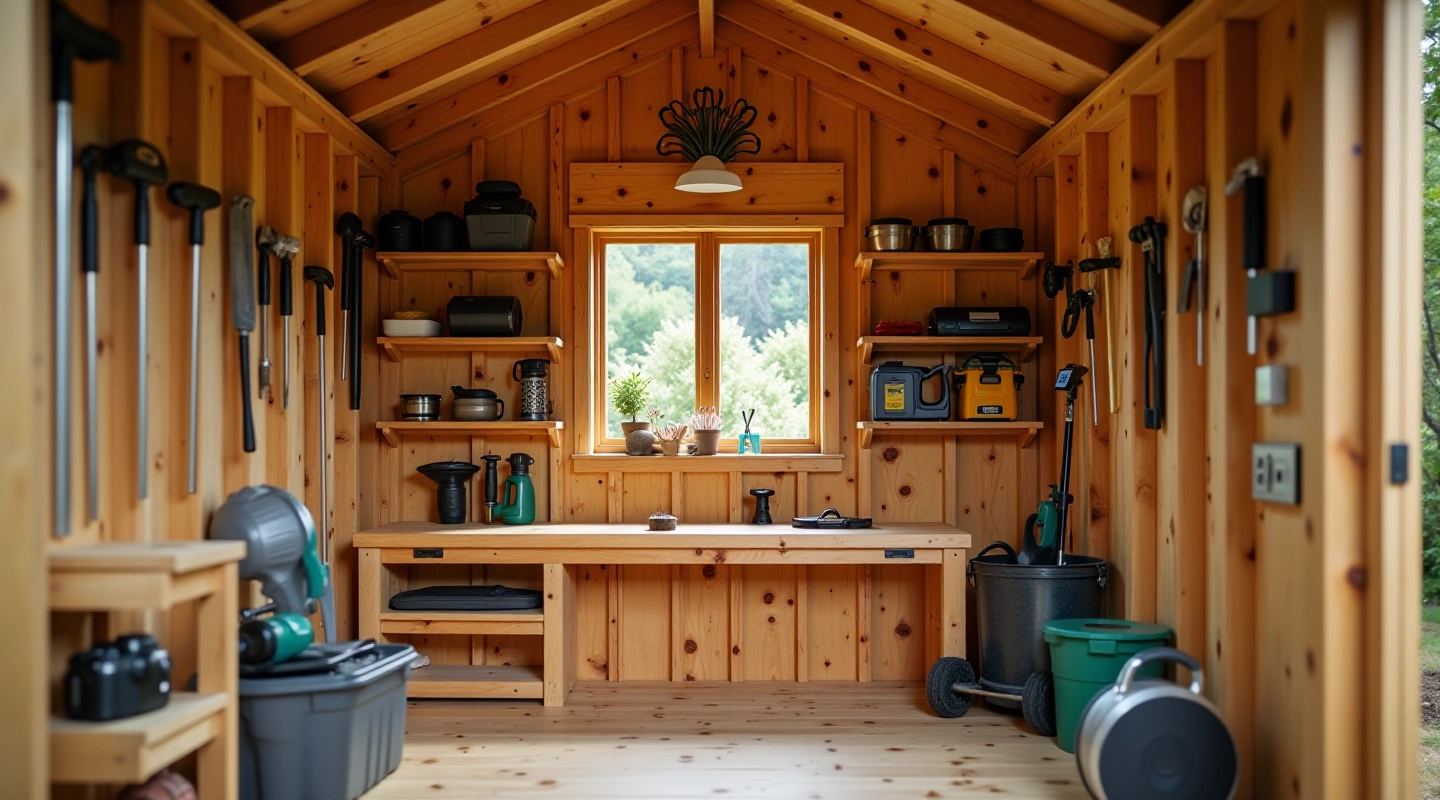
A well-organized shed isn't just about looking neat. It's about function. When you can find your tools quickly, you work faster. When seasonal items are stored properly, they last longer. When vertical space is used wisely, you actually fit everything without cramming.
We're going to walk you through practical shelving solutions that don't require engineering degrees or expensive custom installations. These are real approaches that work in sheds of different sizes, from small 8x6 kits to larger structures.
Walls are your biggest asset. Strategic shelving multiplies usable storage without eating floor space.
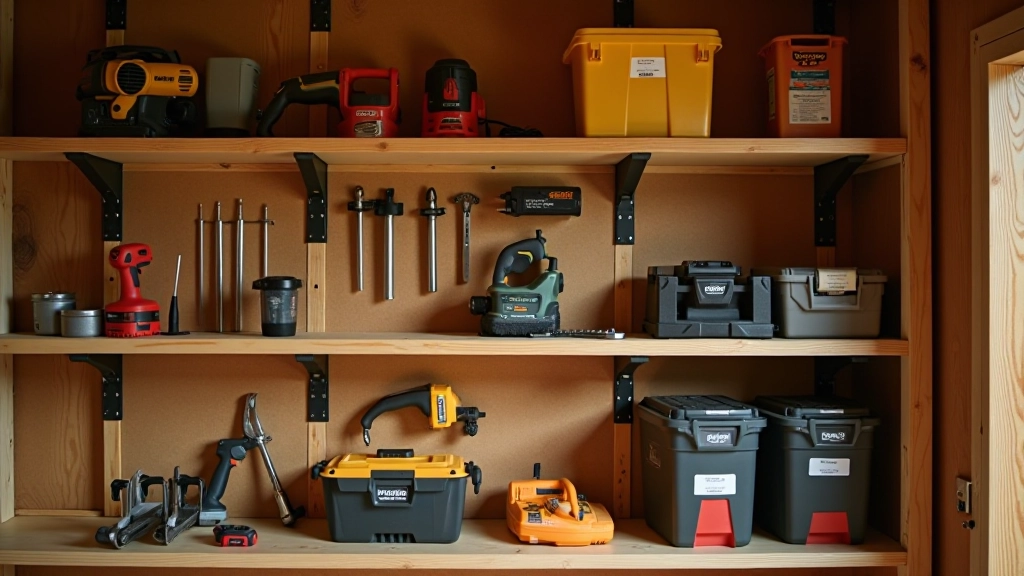
Heavy tools on lower shelves, lighter seasonal items up top. Prevents wall strain and keeps things accessible.
Adjustable shelving lets you adapt as your storage needs change. No permanent commitments.
You've got options here. The right choice depends on your shed's walls, what you're storing, and how often you'll reorganize things.
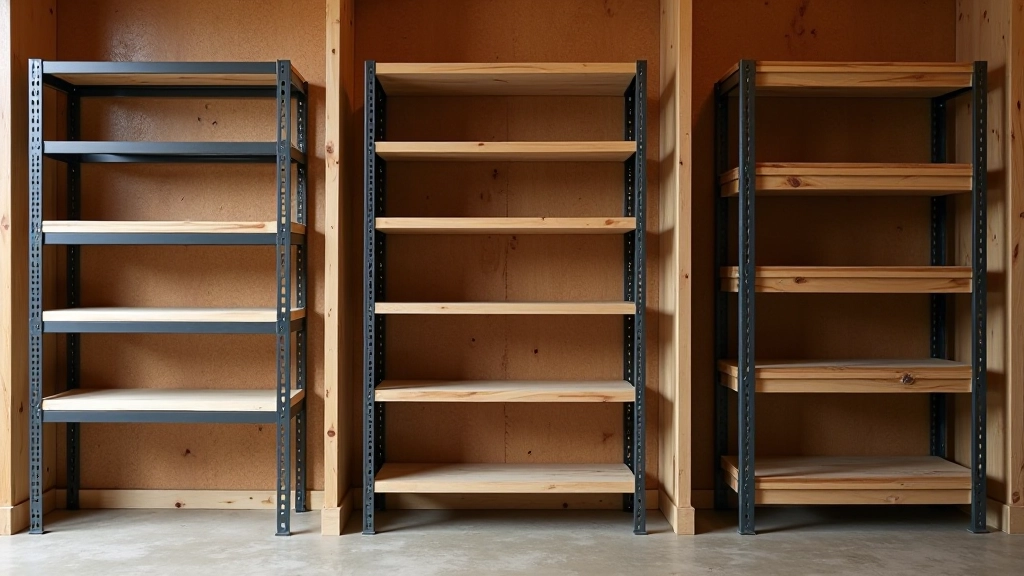
This is the workhorse. Metal shelves handle serious weight — we're talking 200+ pounds per shelf if installed properly. They're adjustable, relatively affordable, and don't require special tools to install. Mount them directly into wall studs or use heavy-duty anchors for plywood walls. Typical setup: three to four shelves per wall, spaced about 12-14 inches apart for smaller tools, or 16-18 inches for larger equipment.
Wood looks better and feels more stable than metal. Problem is, it's heavier to install and can sag if you don't use proper supports. Go with 2x10 or 2x12 boards for span lengths under 48 inches. Beyond that, you'll need brackets every 24-30 inches to prevent sagging. Paint or seal them to handle moisture — sheds get humid, especially in summer.
Metal frames with wooden shelves. You get the strength of metal supports and the aesthetic of wood. This works really well if your shed is a kit where you've already chosen a natural wood interior.
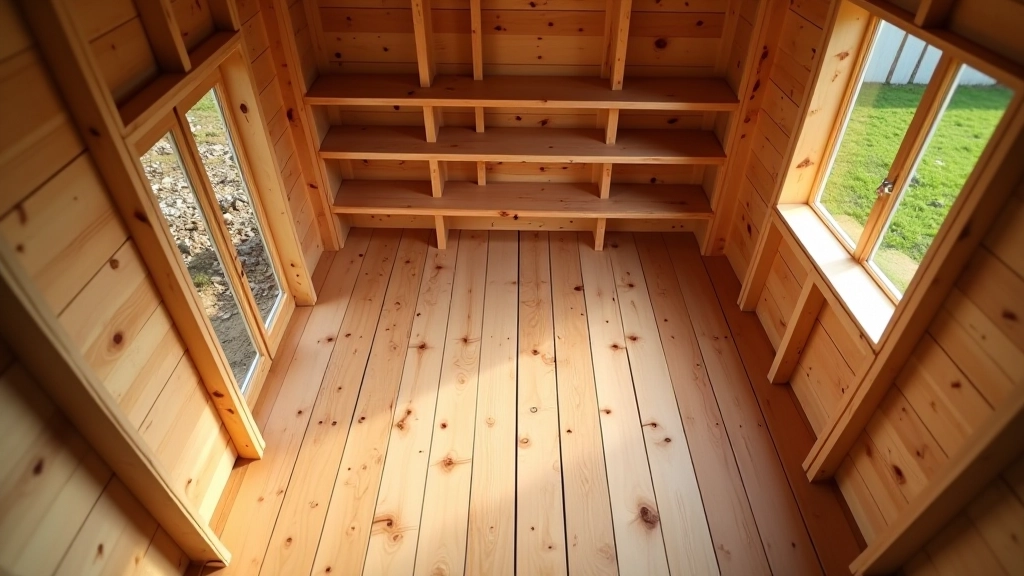
Where you put shelves matters as much as what you put on them. You want to keep the center of your shed mostly clear — that's your workspace. Shelves work best along the perimeter walls.
Run shelves around three walls, leaving one wall (usually the door wall) clear or with just lower shelves. This keeps your central floor open for working and moving materials in and out. It's the most practical setup for actual working sheds, not just storage closets.
Think about what you reach for. Eye-level shelves (around 48-60 inches high) are for everyday tools. Upper shelves store seasonal items or things you use occasionally. Lower shelves hold your heaviest tools and equipment. This reduces strain and keeps frequently used items accessible without constant ladder work.
One thing that really works: label your shelves or paint them different colors. It sounds simple, but when you've got multiple people using the shed or you're organizing by category, visual cues help everyone put things back correctly.
Don't just randomly distribute items across your shelves. Grouping similar tools together saves time and makes it obvious when something's missing or needs maintenance.
Hammers, wrenches, screwdrivers, pliers. These live best on a pegboard or in shallow shelves where you can see everything at once. A single glance tells you what's there. Use wall-mounted organizers or small shelves at eye level. Weight per shelf: 50-80 pounds tops.
Drills, saws, sanders — they're heavier and bulkier. Give them a sturdy middle shelf where you can easily grab them without reaching above your head. Keep batteries and chargers right there too. These shelves can handle 100+ pounds if properly supported.
Winter storage containers, gardening supplies you only use in spring, holiday decorations. These go up high on less accessible shelves. You're not reaching for them constantly, so height isn't a problem. Just make sure containers are clearly labeled with the season or contents.
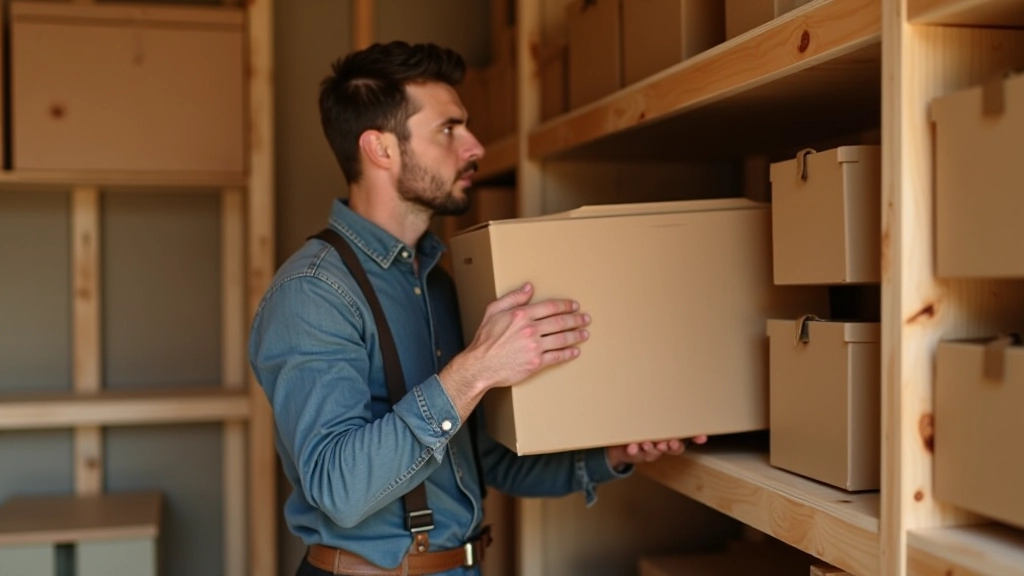
Your shed's job changes with the seasons. Summer is lawn and garden. Winter is snow removal and cold-weather tools. Spring and fall have their own needs. Shelving should accommodate this rotation without requiring a complete reorganization.
Use uniform plastic bins with lids — standard 18x24 inch sizes work well on most shelves. Label them clearly with seasons and contents. When one season ends, you rotate boxes down from high shelves, clear them out, and replace them with the next season's gear. Takes maybe 30 minutes for a complete rotation. Much faster than hunting through piles of unmarked boxes.
Some tools stay year-round — basic hand tools, safety equipment, ladders. These get permanent homes on accessible shelves. Everything else rotates. This hybrid approach keeps your daily essentials within reach while making room for seasonal stuff when you need it.
One final tip: don't pack shelves completely full. Leave maybe 20% empty space. It makes pulling items out easier and prevents that avalanche effect when you grab something from the middle of a stack.
Explore more guides to complete your shed setup and maintenance routine.
Getting the ground level and properly prepared prevents headaches later. This guide covers soil assessment, leveling techniques, and foundation options for prefab sheds.
Read Guide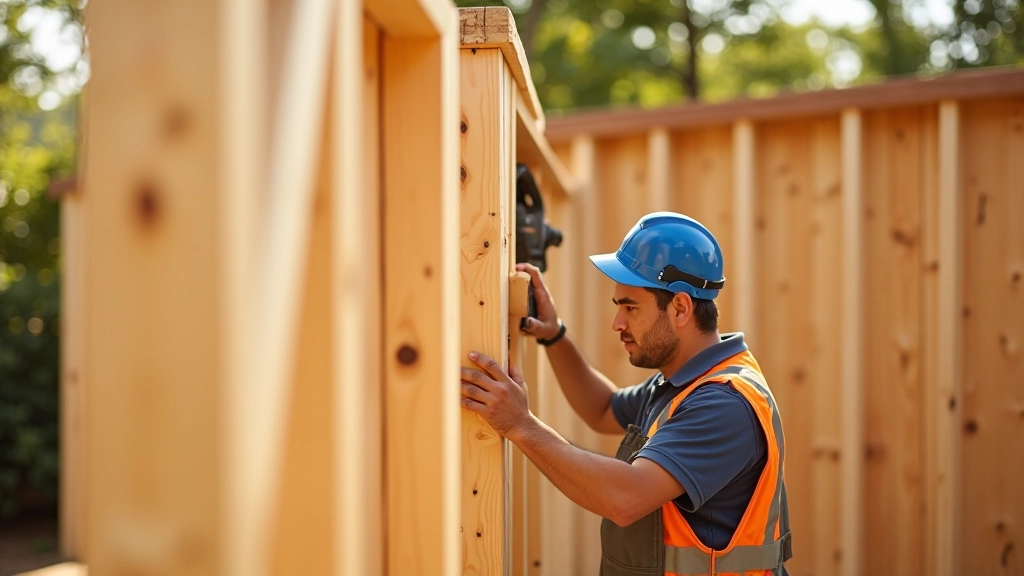
Learn how to properly assemble walls, check for square, and secure frame components. Covers panel assembly, bracing, and common mistakes to avoid during construction.
Read Guide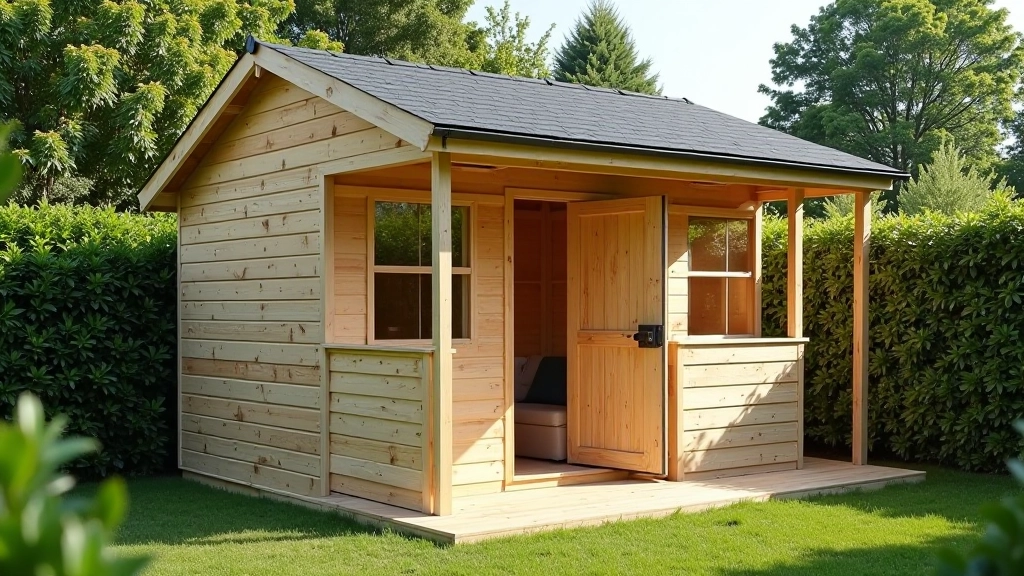
Protect your investment with proper roof installation and weatherproofing. Covers materials, sealing techniques, and seasonal maintenance routines to extend shed lifespan.
Read GuideThere's no single "perfect" organization system. What works depends on your shed's size, what you store, and how you actually use the space. But the principles stay the same: use vertical space, distribute weight properly, and keep frequently used items accessible.
Start simple. Add one or two shelf units, organize what you've got, and see how it feels. You'll quickly figure out what works and what doesn't. Then you can adjust. Shelving isn't permanent — you can move things around as your needs change.
The goal isn't a magazine-perfect shed. It's a shed that actually works for you. Where you can find your tools, where things last longer because they're stored properly, and where you've actually got room to work. That's good organization.
This guide is provided for informational purposes to help you understand general organization principles and shelving approaches. Results will vary based on individual shed designs, wall construction, and storage needs. Always verify that your shed's walls can safely support the weight of installed shelving — this depends on wall material and framing. If you're uncertain about structural capacity, consult the manufacturer's guidelines or a local contractor. Safety is your responsibility. We're not liable for installation issues, damage, or injury resulting from implementing these methods.