
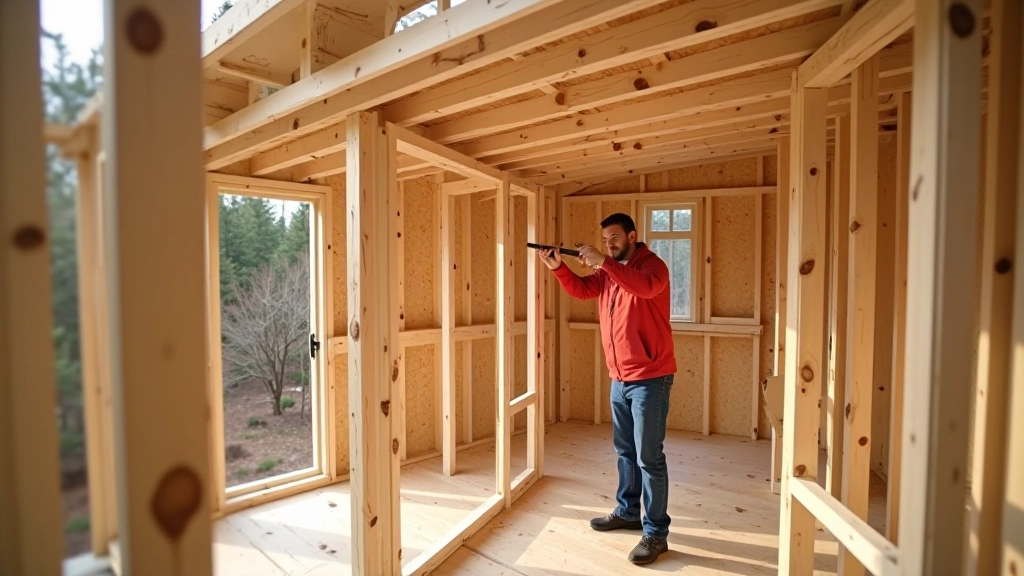
Framing and Wall Assembly: Step by Step
Learn how to properly assemble walls, check for square, and secure frame components so everything lines up correctly.
Getting the ground level and properly prepared prevents headaches later. This guide covers soil assessment, leveling techniques, and drainage considerations for any shed size.
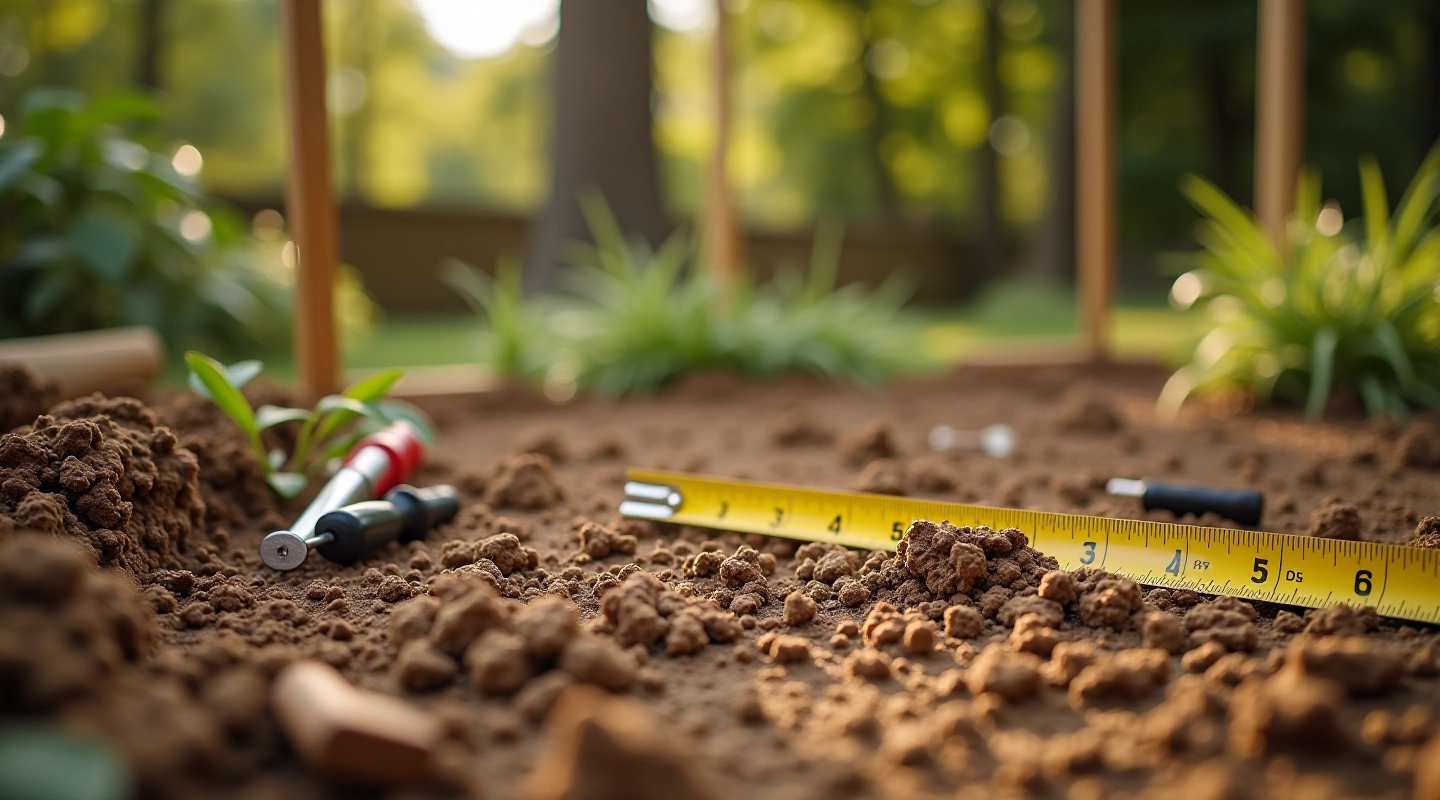
You're about to invest time and effort into building a shed. The last thing you want is to discover after assembly that one corner's sinking into soft soil or water's pooling underneath during rain. Foundation work isn't glamorous, but it's the difference between a shed that lasts decades and one that develops structural issues within a few years.
Most assembly problems trace back to the ground itself. An uneven base forces frames out of square, makes doors stick, and creates stress on joints. We're not talking about pouring concrete here—though that's one option. We're talking about understanding your soil, checking for level, and making sure water drains away from the structure.
The first step is understanding what you're working with. Different soil types behave differently when wet or dry. Clay holds water and shifts seasonally. Sand drains quickly but doesn't compact well. Most properties have a mix—loam—which is actually ideal for shed foundations.
Grab a handful of soil from your intended site. Squeeze it. Does it hold together? That's clay. Does it fall apart immediately? That's sandy. Can you make a ball that barely holds its shape? That's loam, and you're lucky. If you've got heavy clay, you'll need to account for seasonal movement. If it's very sandy, you might need a gravel base for stability.
Check how water behaves too. After rain, does the ground stay soggy for days? That's a drainage problem you'll need to address. Does water run off immediately? Good—but you still want to slope the ground around your shed so water flows away, not toward it.


This is where most people rush, and it's the mistake that costs them later. You need to find the high point of your site first. Grab a straight board—4 feet works well—and a spirit level. Place the board across different spots and check where it sits highest. That becomes your reference point.
Small variations are okay. A shed can handle up to 1 inch of slope over 4 feet, and that actually helps drainage. But 3 or 4 inches? That's a problem. You're looking at either removing soil from the high side or adding soil to the low side. For most DIY jobs, removing is easier and more stable.
Pro tip: If you need to add soil, compact it in 4-inch layers. Use a tamper or even just walk over it repeatedly. Loose fill settles over time and causes uneven settling under your shed.
Water is the enemy of any structure sitting on the ground. It causes rot, frost heave in winter climates, and encourages insect damage. You want water moving away from your shed, not collecting underneath it.
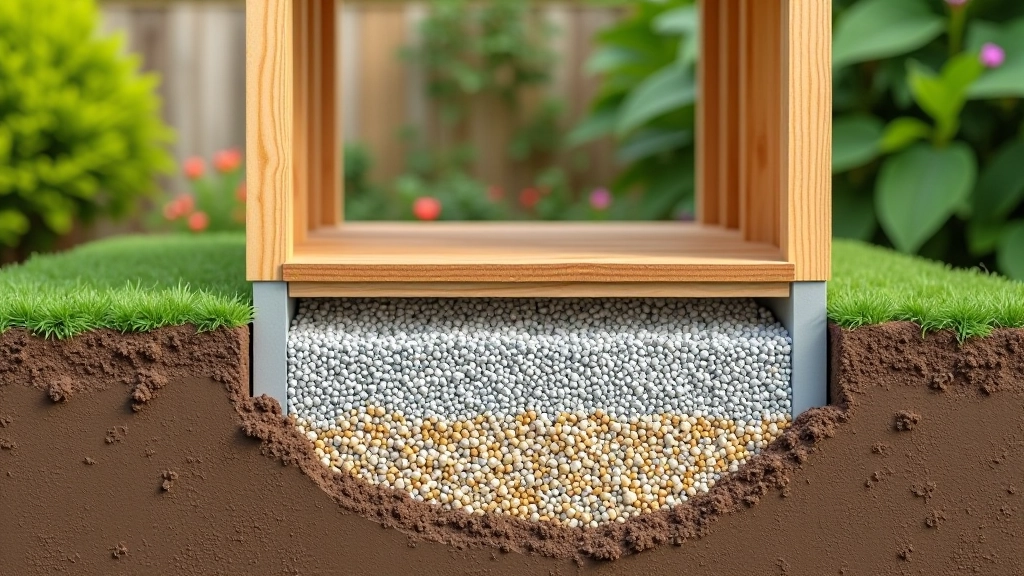
The simplest approach is a 4 to 6-inch layer of gravel. It drains water quickly, doesn't compact unevenly like soil, and gives you a clean surface for assembly. Spread landscape fabric underneath if your soil is very fine—this prevents gravel from sinking into clay. The gravel layer does several things at once: it's your leveling base, it's your drainage layer, and it's your final assembly surface.
If your site naturally slopes, that's perfect—work with it. You want ground sloping away from the shed at maybe a 2% grade, which is about 1 inch drop per 4 feet. You don't need much. Just enough that standing water won't pool against your walls.
Gravel Base Setup:
Once your foundation is ready, these guides walk you through the next stages.
Learn how to properly assemble walls, check for square, and secure frame components so everything lines up correctly.
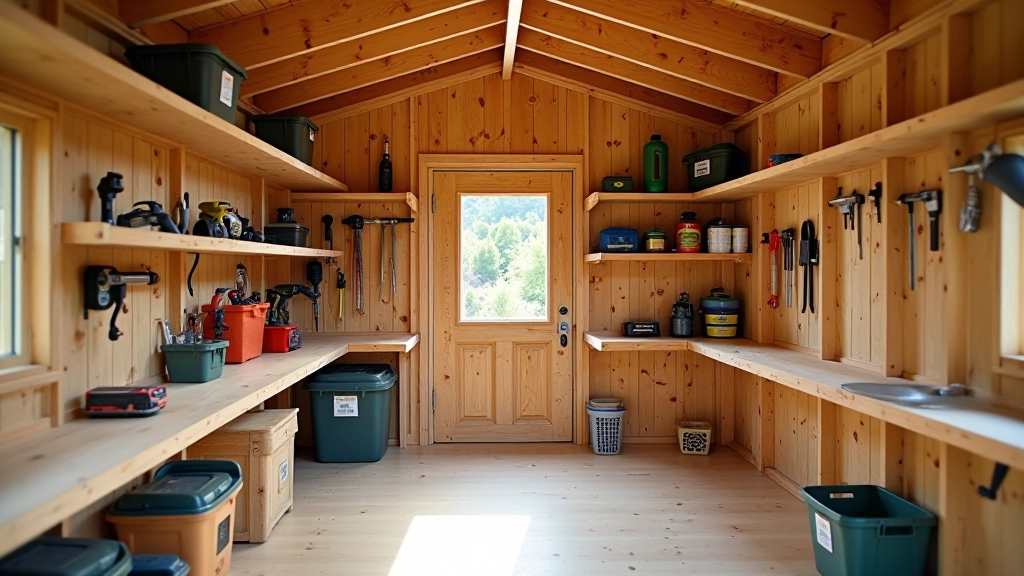
Transform your shed into an efficient storage space. Practical layouts for tools, equipment, and seasonal items.
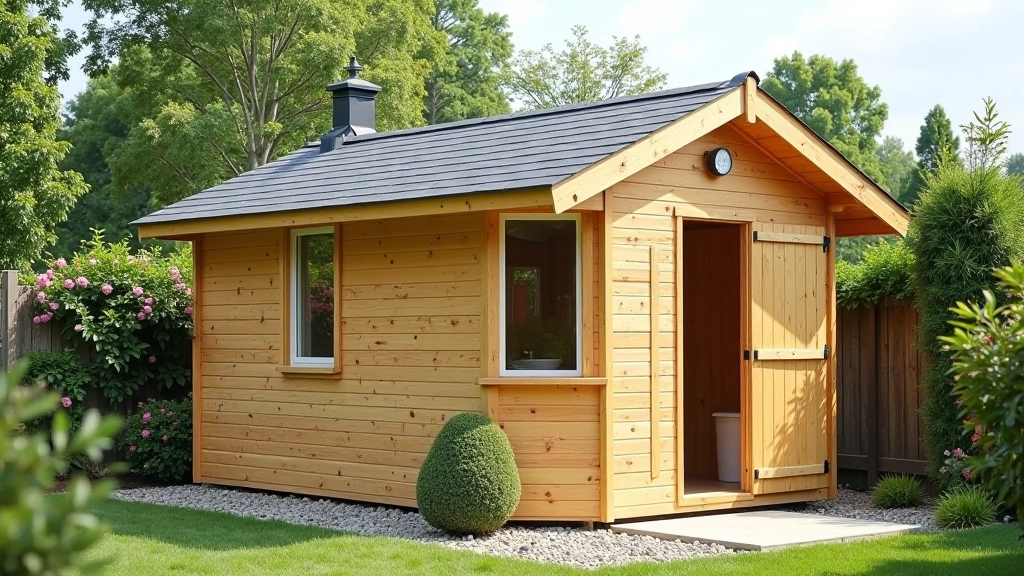
Protect your investment with proper roof installation and weatherproofing. Cover water management, sealants, and seasonal checks.
Foundation work feels like prep work, and it is—but it's the most important prep work you'll do. A level, well-drained site means your shed assembly goes smoothly. Doors close properly. Corners stay square. Water doesn't pool around the base. It's the difference between a quick assembly day and a frustrating one that turns into problem-solving.
Spend the time now. Check your soil. Level carefully. Get your drainage right. It doesn't require special skills or expensive tools—just attention to detail. Once you've got a solid foundation, everything that comes next is actually easier.
This guide provides general information about foundation preparation for garden sheds. Soil conditions, local climate, building codes, and site-specific factors vary significantly. We recommend consulting with a local surveyor or building inspector before starting major excavation or leveling work, particularly in areas with dense clay, high water tables, or frost heave concerns. Always check your local building codes and permit requirements before construction.